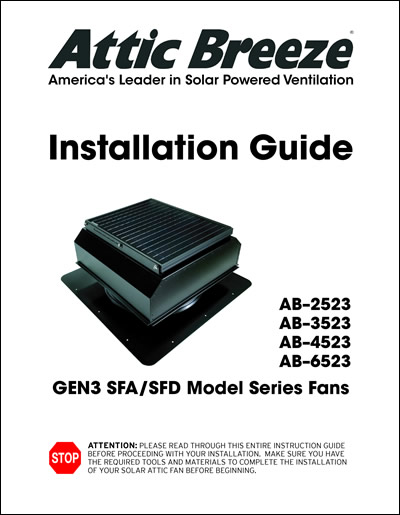
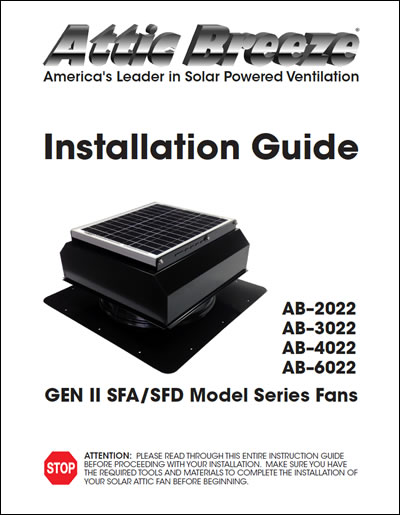
Installation Guides
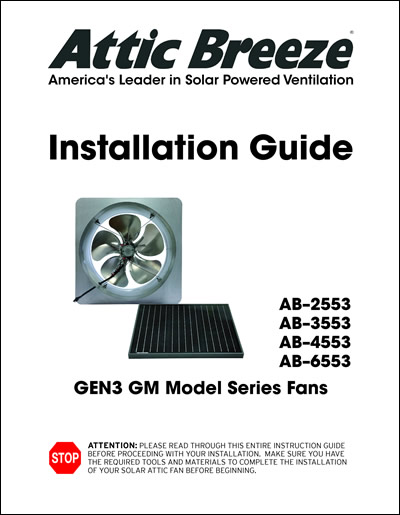
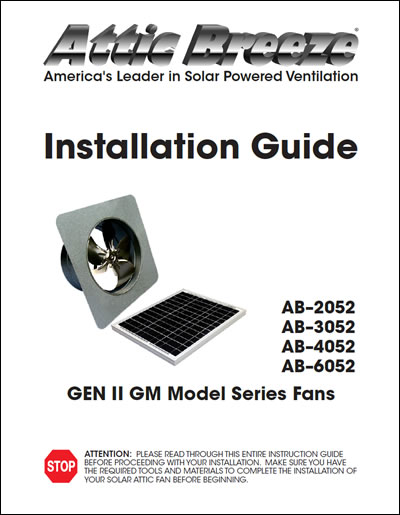
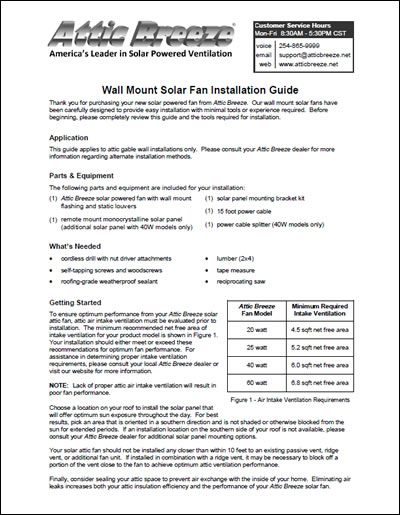
Product Installation Guides
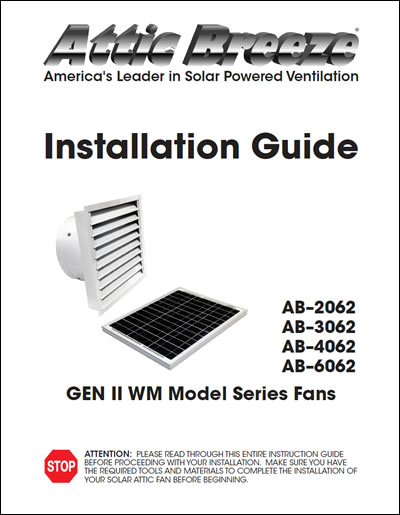
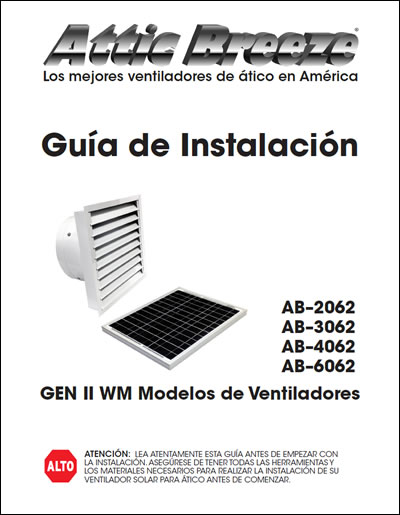
Attic Breeze solar attic fans are designed for easy installation using standard roofing practices. Products arrive fully assembled and ready to install. Most with general roofing knowledge can complete the installation. For assistance, a nationwide network of certified installers is available.
Installation Tips
Before You Begin
Inspect the Product:
Carefully remove the fan from its packaging and inspect for any shipping damage. Do not install if damage is observed. Contact customer service for support.
Position the Fan:
Turn the unit upside down to access the fan blade. For models with remote-mounted fans, locate the wiring harness secured inside the fan housing and allow it to hang freely before installing.
Connect the Control Plug:
A control plug must be inserted into the wiring harness socket before the fan will operate. This plug may be part of an optional accessory (e.g., Breeze Mate, thermal switch, or termination plug).
Test Before Installation:
Place the solar panel in direct sunlight to verify functionality. The fan should operate quietly when powered. If it does not run, contact support for assistance.
Thermal Switch Note:
Fans with thermal switches activate only when temperatures exceed approximately 75°F (24°C). In cooler conditions, gently warm the switch to verify operation.
Fans may not activate below 75°F if equipped with a thermal switch. To test operation, warm the switch by hand.
We’re Here to Help
Need assistance? Our customer support team is available Monday–Friday, 8AM-4PM CST. Call us at (877) 288-4234 or email support@atticbreeze.com with any questions. We’re here to help you choose the right ventilation solution for your home or business.
Placements Guidelines
With ridge vents: Mount the fan 5–7 feet below the ridge line for balanced ventilation.
Without ridge vents: Mount the fan 3-5 feet below the ridge line.
Keep at least 5 away from passive vents.
Keep at least 10 feet away from other solar attic vents.
Position for maximum sun exposure.
Use remote solar panel models if shading is unavoidable.
Proper Air Intake Ventilation
Attic Breeze SFA/SFD Series Roof Mounted Fans
Attic Breeze CMA/CMD Series Roof Mounted Fans
Attic Breeze Retrofit/Gable Mounted Fans
Attic Breeze Wall Mounted Fans
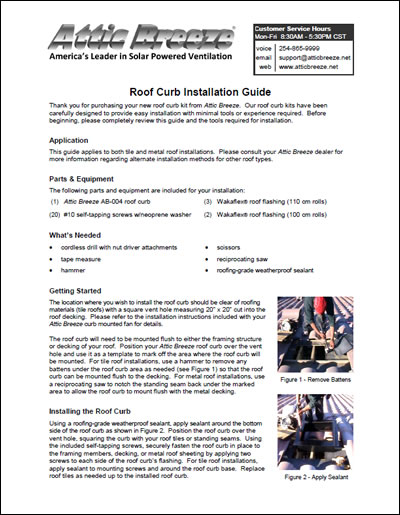
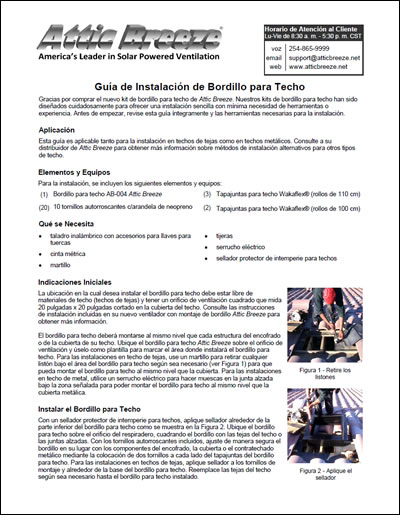
Roof Curb Installation Kit
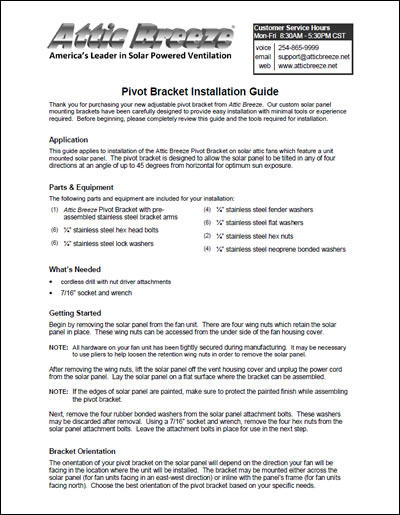
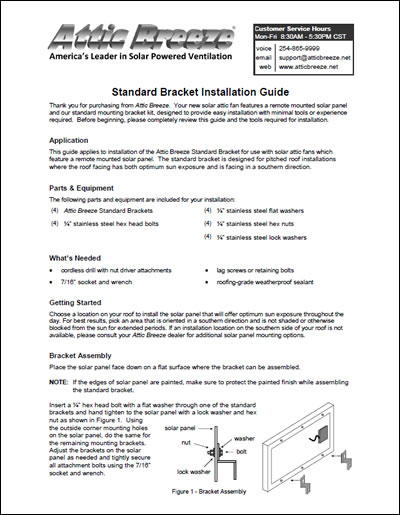
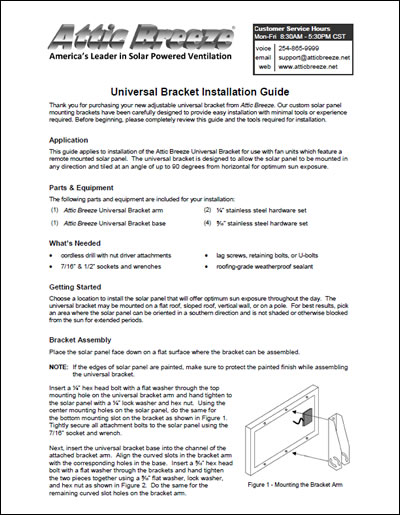
Solar Panel Mounting Brackets
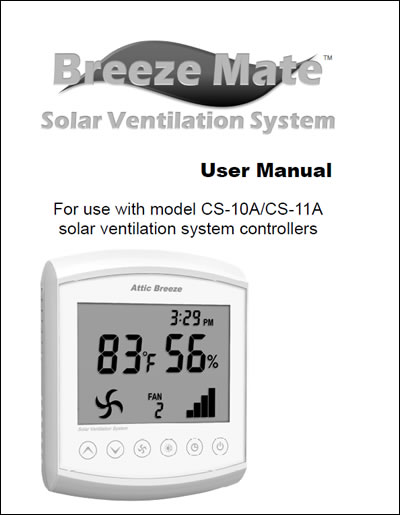
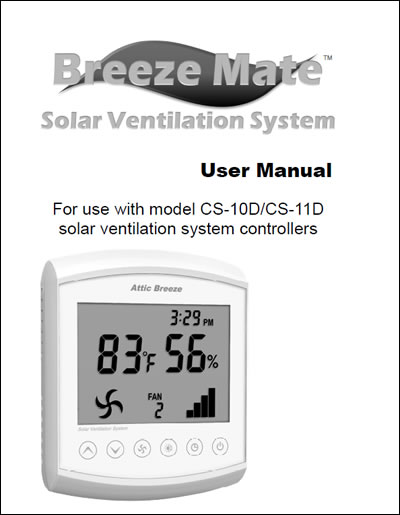
Breeze Mate Control System
Cardinal Ventilation
For more information, visit www.P65Warnings.ca.gov.

